Customize Branding
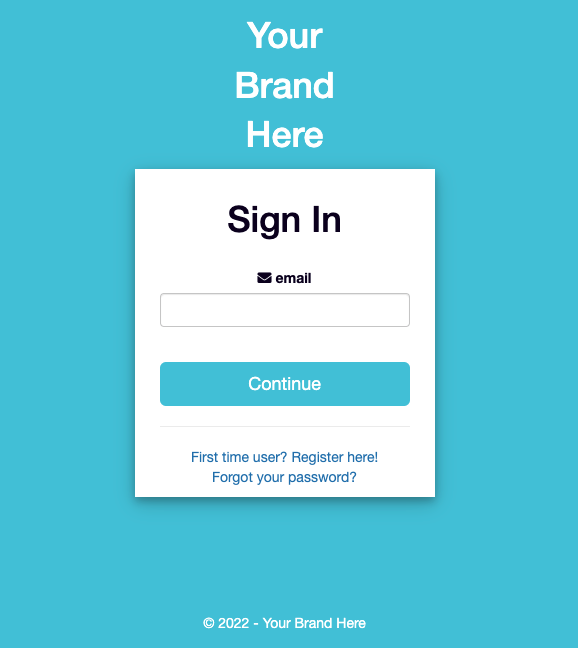
By default,
polished Authentication sign in and registration page looks like this:
You can customize the sign in page with the
sign_in_page_ui argument in the secure_ui() function that we set up on the Get Started page. For example, here is a custom sign in page we created for Tychobra:# ui.R
# define your Shiny app UI
ui <- fluidPage(
fluidRow(
column(
12,
h1("Your Shiny App UI")
)
)
)
# customize your sign in page UI with logos, text, and colors.
my_custom_sign_in_page <- sign_in_ui_default(
color = "#006CB5",
company_name = "Tychobra",
logo_top = tags$img(
src = "images/tychobra_logo_white.png",
alt = "Tychobra Logo",
style = "width: 125px; margin-top: 30px; margin-bottom: 30px;"
),
logo_bottom = tags$img(
src = "images/tychobra_logo_blue_co_name.png",
alt = "Tychobra Logo",
style = "width: 200px; margin-bottom: 15px; padding-top: 15px;"
),
icon_href = "images/tychobra_icon_blue.png",
background_image = "images/milky_way.jpeg"
)
# secure your UI behind your custom sign in page
secure_ui(
ui,
sign_in_page_ui = my_custom_sign_in_page
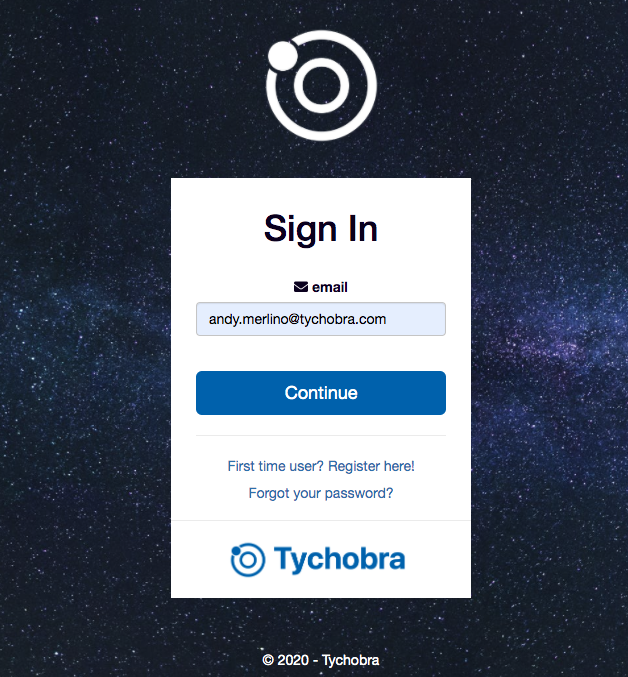
)The above sign in page customized for Tychobra looks like this:

Simply replace the
color, company_name, logo_top, logo_bottom, icon_href, & background_image arguments to match your brand. You can find the complete Shiny app code for the above example here. Check the documents for other possible arguments with ?sign_in_ui_default.If you don't like the default sign in page generated by
sign_in_ui_default() function, you can supply a fully customized sign in page to the sign_in_page_ui argument above. Example coming soon.Next Steps
Now that your own custom branding is included, you can optionally go to the next page to add social sign in options.
